How the 4v4 Tag System Works
A deep dive into MARVEL Tōkon's progressive 4v4 tag system — how matches escalate from 1v1 duels to full team combat through damage thresholds and Wall Breaks.
The 4v4 tag system is what makes MARVEL Tōkon: Fighting Souls unlike any tag fighter that’s come before. Instead of handing you a full roster at the start of the match, Tōkon begins every round as a duel — one point character, one assist — and makes you earn the rest of your team through in-match performance. By the time both players have unlocked all four fighters, the match has completely transformed from its opening state. Here’s how it all connects.
The three phases of a Tōkon match
The progressive unlock system creates a natural three-act structure to every match. Understanding these phases and playing to each one’s strengths is fundamental to competitive Tōkon.
Phase one: the duel (1 + assist)
Every match opens here. Your point character takes the stage with one assist partner available via assist calls. Your third and fourth picks are locked and displayed as grayed-out portraits on the HUD.
This phase plays closest to a traditional 1v1 fighter. Footsies, spacing, anti-airs — the fundamentals carry hard because you don’t have the safety net of multiple tag-ins and complex team pressure. Your point character needs to be someone who can hold their own in a fair fight.
The pace is measured. With only one assist available, neither player can run the kind of overwhelming multi-character pressure that defines the late game. Reads and reactions matter more here than mixup knowledge. A single correct anti-air or whiff punish can swing the phase.
Your one assist is precious during this phase. It’s the only backup you have, and if it gets hit on entry, that damage carries forward. Use your assist calls during your own offense — when the opponent is blocking and can’t punish your incoming partner.
Phase two: the expansion (2–3 fighters active)
Once you hit a damage threshold or score a Wall Break, your third character unlocks. Now you have two assists instead of one, and you can tag your second character to the point position. The options multiply.
This is where team synergy starts to matter. Two assists can cover each other: while one is on cooldown, the other is available. You can run multi-layered mixup sequences where one assist locks the opponent down while you go for a cross-up or throw. Tag combos become possible — starting a combo with one character and tagging in another to extend it.
The tension is asymmetric. If you’ve unlocked your third fighter and your opponent hasn’t, you have a real advantage in options — more assists, more combo routes, more defensive tag-outs. Pressing that advantage hard, before they catch up, is often the right play.
Phase three: full 4v4
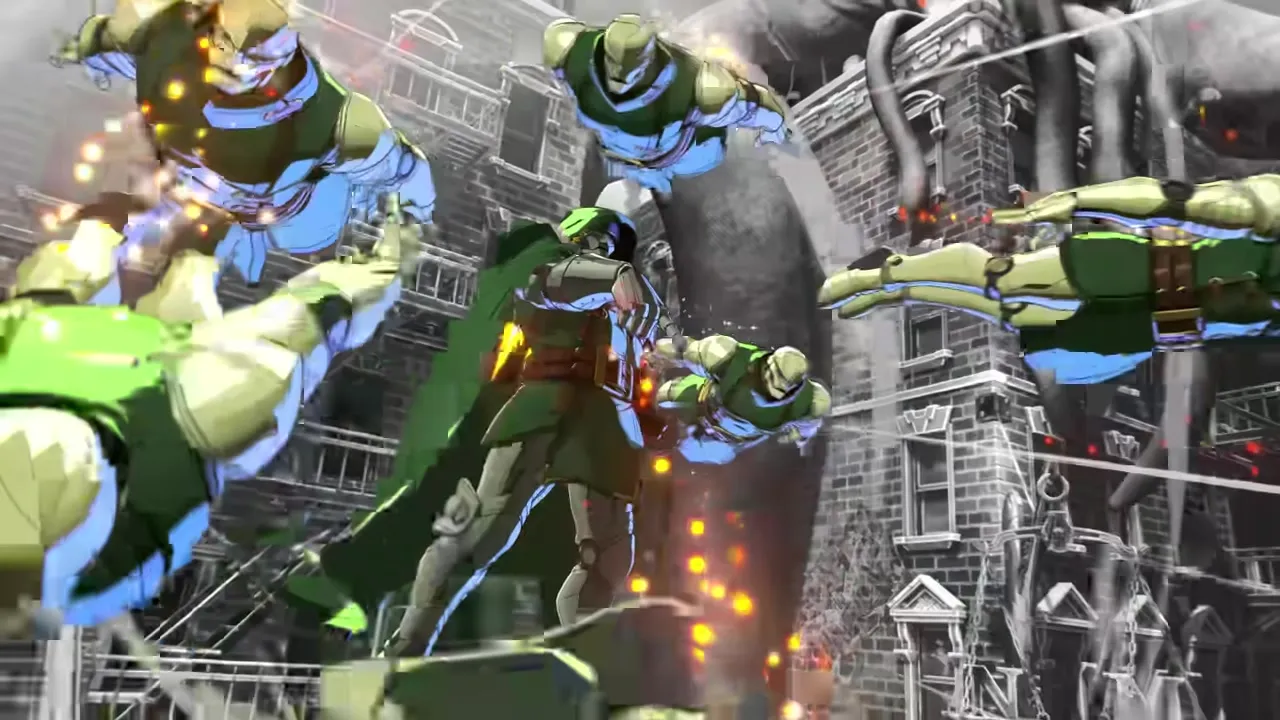
Both players have all four characters available. This is where Tōkon becomes the wild, expressive tag fighter the marketing promises. Every tag-in, every assist call, every super is a decision pulled from a deep pool of options. Teams that were designed with late-game synergies in mind — like stacking characters whose assists chain naturally or whose supers combo into each other — hit their peak here.
Full 4v4 also means health management becomes a macro game. Your point character is getting low? Tag out to regenerate while a healthy fighter takes over. The opponent’s anchor is their most dangerous character? Try to snap them in early (if the game supports forced tag-ins) and eliminate them before they can do their work.
Unlock triggers: damage and Wall Breaks
Two confirmed triggers expand your roster:
Damage dealt. As you land attacks, your cumulative damage total builds toward a threshold. Cross it and your next character joins the team. The exact numbers are pre-release unknowns, but the system rewards consistent offense — not just single big combos, but sustained aggression over multiple interactions.
Characters with high hit-count combos may naturally unlock faster. Spider-Man and Wolverine, both rushdown fighters with rapid multi-hit strings, are expected to generate damage totals quickly. On the flip side, zoners like Storm who chip from afar might take longer to reach thresholds, which could affect team-building strategies around unlock timing.
Wall Breaks. Smashing your opponent through a stage boundary is the second confirmed unlock path. Wall Breaks require corner carry — pushing the opponent to the edge of the screen during a combo — so characters with strong forward-moving attacks have an edge here. Captain America charging forward, Carnage dragging with symbiote tendrils, Ghost Rider using chain range to push opponents back — all are expected to be strong Wall Break initiators.
Wall Breaks also reset both players to mid-screen, which means you trade corner pressure for the team expansion. That tradeoff is interesting: sometimes milking more damage in the corner is better than triggering the break, especially if you’re close to a kill on the current opponent character.
Team building with the tag system in mind
The progressive structure changes how you think about team composition. You’re not just picking four characters who are individually strong — you’re sequencing them.
Slot 1 — the point. This character fights alone at the start. They need to win neutral, hold their own in a pure 1v1, and ideally have tools that generate damage quickly (to hit unlock thresholds early). All-rounders like Iron Man or self-sufficient rushdown characters like Wolverine are strong point picks.
Slot 2 — the assist. Before this character unlocks as a full fighter, they serve as your only assist. Their assist attack needs to complement your point character’s gameplan — a beam for an approach-heavy point, a lockdown for a mixup-heavy point, an anti-air for a character that struggles against jumps.
Slot 3 — the mid-game addition. This character enters when the match is heating up. They should be strong in the expansion phase — someone who benefits from having one assist available (your slot 2 or 4, depending on who’s on point at the time) and can contribute to tag combos. Medium-difficulty characters with versatile toolkits work well here.
Slot 4 — the anchor. Your late-game closer. This should be a character who thrives in the chaos of full 4v4, someone with strong supers, devastating mixups, or the kind of defensive tools that make them hard to put down. Doctor Doom with his technical pressure, or Magneto with his screen-controlling zoning, are prime anchor picks — they’re hard to play from the front but terrifying in the endgame.
Tag combos and extensions
Once you have multiple characters available, tag combos become your primary damage tool. The basic flow:
- Start a combo with your point character
- At a specific point in the string, tag in your partner
- The partner continues the combo from where the previous character left off
- End with the new point character’s finisher or super
Tag combos deal more damage than solo combos and can carry opponents further (potentially toward the wall for a Wall Break). They also let you rotate characters — starting with your less healthy fighter and ending with a fresh one, so the hurt character goes to the bench to regenerate.
The combo basics guide covers practical tag combo routes once you’re past the fundamentals.
Defensive tag strategy
Tags aren’t just for offense. Smart defensive tagging keeps your team healthy:
- Tag out low-health characters to recover while a healthier fighter takes over
- Tag after a burst — you’ve already spent the resource to escape; bring in someone fresh while the opponent resets
- Use tag-in attacks (expected to have invincibility or armor) as a reversal option when you’re being pressured
The risk: tag-ins have recovery. If the opponent reads your tag and punishes the incoming character, they eat a combo on entry. Don’t tag predictably. Vary your timing, and use assists to cover the transition.
How the tag system changes competitive tier lists
In traditional fighters, a character is strong or weak on their own merits. In Tōkon, a character’s strength depends partly on their slot. A fighter who’s mediocre as a point character might be an incredible anchor. An assist that’s merely okay for one point character might be the perfect complement for another.
Expect competitive tier discussions to focus on:
- Best point characters for the 1v1 opening phase
- Best assists for each popular point character
- Best anchor characters for the 4v4 endgame
- Best overall four-character shells (team compositions)
The meta will be layered and team-focused, which is exactly what you’d hope for in a game built around a tag system. Individual character strength matters, but team cohesion matters more.
Quick reference
| Concept | Summary |
|---|---|
| Starting state | 1 point + 1 assist |
| Max team size | 4 fighters |
| Unlock trigger 1 | Cumulative damage dealt |
| Unlock trigger 2 | Wall Breaks |
| Phase 1 | Duel — fundamentals, spacing, single assist |
| Phase 2 | Expansion — two assists, tag combos begin |
| Phase 3 | Full 4v4 — complete team, maximum options |
For the system overview, see the tag system codex page. For beginner team-building advice, the beginner’s guide has a starter template. And for the full roster of available characters to build your team from, check the confirmed roster tracker.