Combo Basics: From Bread-and-Butter to Tag Enders
Learn the fundamentals of combos in MARVEL Tōkon: Fighting Souls — chain combos, launchers, aerial strings, tag extensions, meter enders, and Wall Break carry routes.
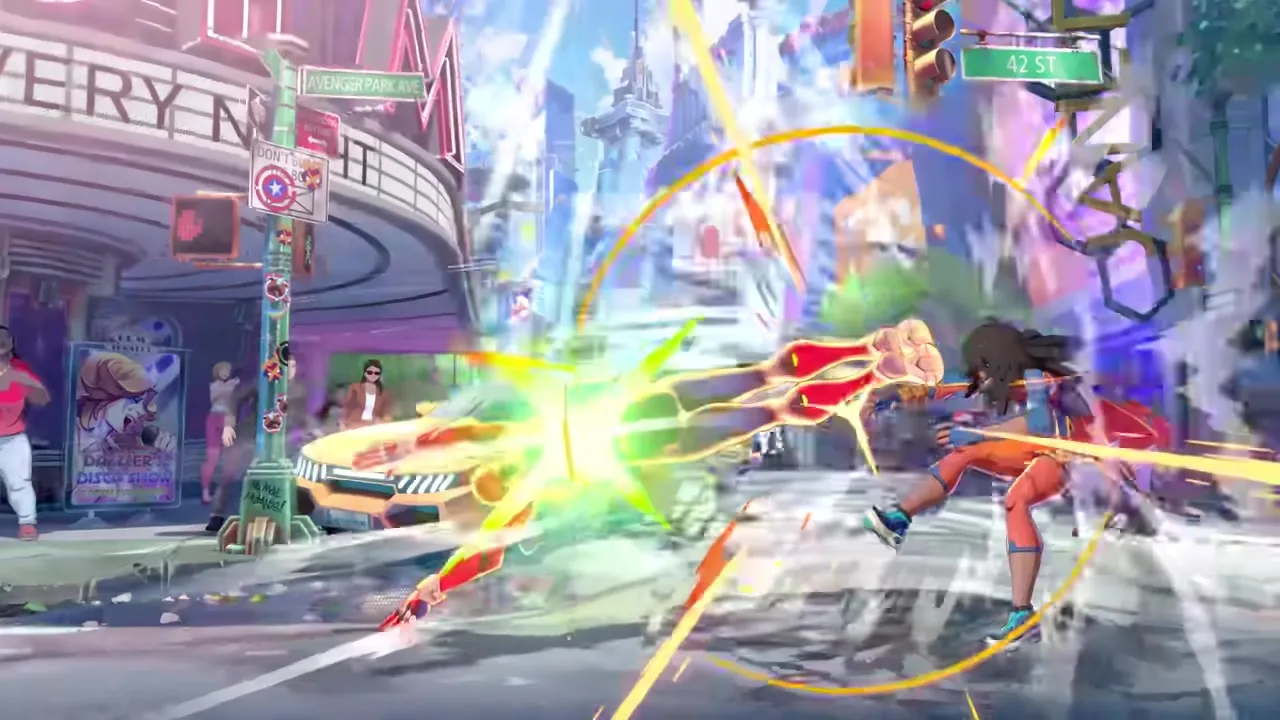
Combos in MARVEL Tōkon: Fighting Souls are where practice meets payoff. You’ve won neutral, you’ve opened the opponent up with a mixup or punished a whiffed attack, and now you need to convert that hit into maximum damage. The difference between a player who gets a hit and deals 15% health versus one who converts the same hit into 40% with a tag extension and a Wall Break carry is the difference between losing close games and dominating them.
This guide covers combo structure from the ground up — starting with the basic chain every character shares, building through launchers and aerial combos, and finally reaching tag extensions and meter enders. Exact frame data and character-specific routes aren’t available pre-release, so we’re working from Arc System Works’ established design patterns and what’s been visible in trailer and preview footage.
The chain combo system
ArcSys fighters use a chain combo system where normals cancel into each other in a specific order, typically from light to heavy:
Light (L) > Medium (M) > Heavy (H)
Each button in the chain cancels the recovery of the previous one, letting attacks flow together without gaps. In Tōkon, this chain is expected to be the backbone of every combo. You start with a fast, short-range light attack to confirm the hit, then escalate through medium and heavy for more damage and range.
The chain system is what makes ArcSys combos accessible. You don’t need one-frame links or complex timing — you press the buttons in order and they connect. The skill expression comes from what you do after the chain: which special move you cancel into, whether you launch for an aerial extension, and whether you spend meter or tag in a partner.
Your first bread-and-butter (BnB)
A bread-and-butter combo is a reliable, practical route that you can land from your most common starters. Here’s the expected BnB structure in Tōkon:
Ground chain > Special move > Launcher
So for a character like Iron Man, that might look like:
L > M > H > Repulsor Blast > Launcher
The launcher pops the opponent into the air, which leads to the next phase of the combo: the aerial string.
Aerial chain > Air special > Knockdown
After the launch, you jump to follow the opponent and repeat a lighter chain in the air:
jump L > jump M > jump H > Air special
The air special typically ends with a knockdown — the opponent hits the ground in a state where they can’t immediately act, giving you time to set up okizeme pressure or reposition.
Putting it together:
L > M > H > Special > Launch > j.L > j.M > j.H > Air special (knockdown)
That’s roughly 8–10 hits for solid damage, and it works from a standing confirm. Practice this on both sides (your character facing right and facing left) until it’s automatic.
Launchers: the gateway to damage
The launcher is the single most important move in your combo toolkit. It’s the attack that sends the opponent airborne, converting a ground string into an aerial combo that roughly doubles your damage.
Launchers in ArcSys games are usually a universal mechanic — every character has one, typically mapped to a specific button or input (like S in Guilty Gear or 2H in some contexts). In Tōkon, expect a dedicated launcher input that can be used after your ground chain.
Key things about launchers:
- They’re usually unsafe on block — if the opponent blocks your launcher, you eat a punish
- They’re best used inside a confirmed combo — don’t throw a raw launcher in neutral
- They’re the connection point between ground and air, which is where tag combo extensions also happen
- Different characters may have launchers with different properties (range, speed, horizontal carry)
Characters with launchers that carry forward — pushing the opponent toward the corner during the launch — are particularly valuable for Wall Break strategies. Carrying the opponent to the wall and then triggering a break mid-combo unlocks a team member and keeps your offensive momentum going.
Super enders and meter spending
Once you have Soul Gauge meter, your combos get a damage spike. Instead of ending an aerial combo with a regular knockdown, you can cancel into a super for a massive chunk of additional damage.
The math is straightforward: a meterless combo might deal 3,000 damage (hypothetical number). Spending one bar on a Level 1 super ender might push that to 4,500. Spending three bars on a Level 3 super closer might hit 6,000+. The efficiency depends on the matchup — sometimes it’s worth spending the meter to secure a kill, sometimes saving it for defense or a future combo is smarter.
A good rule for deciding when to spend meter:
| Situation | Spend meter? |
|---|---|
| The combo will kill | Yes — close it out |
| Opponent has a sliver of health left | Maybe — one bar for a Level 1 is efficient |
| You’re ahead and healthy | Save it — you don’t need the damage |
| Your burst is gone and you might need defense | Save it — defensive options cost meter too |
Tag combo extensions
This is where Tōkon’s tag system turns combos from good to devastating. Once you’ve unlocked additional team members, you can tag them in mid-combo to continue the string with a fresh character.
The expected flow:
- Start a combo with your point character (ground chain > launcher > aerial chain)
- At a specific point — usually after the aerial knockdown or during a wall splat — input your tag
- Your incoming character arrives and continues the combo where the previous character left off
- The new character completes their own combo extension, potentially ending with their super
Tag combos add two major benefits:
More damage. A two-character combo deals significantly more than a solo combo because you’re essentially chaining two combo sequences together. Wall-to-wall damage jumps from 35% solo to 50%+ with a tag extension.
Character rotation. The character who was on point goes to the bench (where they can regenerate health), and a fresh fighter takes over. You’ve dealt damage and improved your team’s health state simultaneously.
The trick is learning the transition point. Tag too early and the combo might drop because the incoming character can’t reach the opponent. Tag too late and the hitstun decay (the opponent falling out of your combo because they’ve been hit too many times) means the extension won’t connect.
Assist combo extensions
Before you’ve unlocked full tag combos, assists are your primary extension tool. Calling an assist mid-combo adds an extra hit (or several hits) that holds the opponent in hitstun while your point character recovers and continues.
Example route:
Ground chain > Launcher > Aerial string > Call assist (hits opponent on their way down) > Land > Continue combo
Assist extensions are less damaging than full tag combos but available from the start of the match. Mastering assist timing in combos is the first step toward the full tag extensions you’ll use later.
Wall carry and Wall Break combos
Combos that push the opponent toward the corner are more valuable than combos that keep them mid-screen. Why? Because Wall Breaks unlock team members and transition stages, and you can only trigger them by hitting the opponent into the boundary.
Wall carry is about choosing combo routes that move the opponent laterally. Some principles:
- Forward-moving specials and normals carry more than stationary ones
- Aerial combos where you air dash forward during the string push horizontally
- Characters like Captain America and Wolverine with built-in forward-moving attacks naturally carry further
A wall carry combo might sacrifice some raw damage compared to an optimal mid-screen route, but the strategic value of achieving a Wall Break — team expansion, stage transition, positional reset — usually outweighs the damage difference.
Once you’ve carried the opponent to the wall, the final hit in your combo sequence triggers the break. The wall shatters, the cinematic plays, and you start the new arena with a bigger team. That’s the payoff for all this practice.
Combo structure at a glance
| Combo section | What it does | Example |
|---|---|---|
| Ground chain | Confirms the hit, builds into launcher | L > M > H |
| Special cancel | Adds damage and positions for launch | Forward special |
| Launcher | Sends opponent airborne | Launcher button/input |
| Air chain | Aerial damage, carries horizontally | j.L > j.M > j.H |
| Ender | Finishes the combo | Knockdown special, super, or tag |
Practice tips
Start with the BnB. Get your basic chain > launcher > air chain > knockdown combo consistent on both sides before adding anything else.
Add one layer at a time. Once the BnB is solid, add the assist extension. Then the super ender. Then the tag extension. Don’t try to learn everything simultaneously.
Practice off common starters. You won’t always open with a standing light. Practice your BnB starting from a crouching light (for low confirms), a jump-in heavy (for air-to-ground confirms), and an anti-air (for air-to-air confirms).
Learn the Wall Break route. Even if it does slightly less damage than your optimal mid-screen combo, the wall carry route feeds into the tag system and is usually the highest-value choice.
For the full defensive side of things — how to escape combos and when to burst — check the defense guide. And if you’re still finding your footing with the basic controls, the beginner’s guide walks through everything from button layout to your first match.