The Skill Gauge & Supers
Meter & big damage
How meter works in MARVEL Tōkon: Fighting Souls — the Skill Gauge that fuels EX moves and Ultimate Skills, plus how it sits alongside the Vital and Assemble gauges.
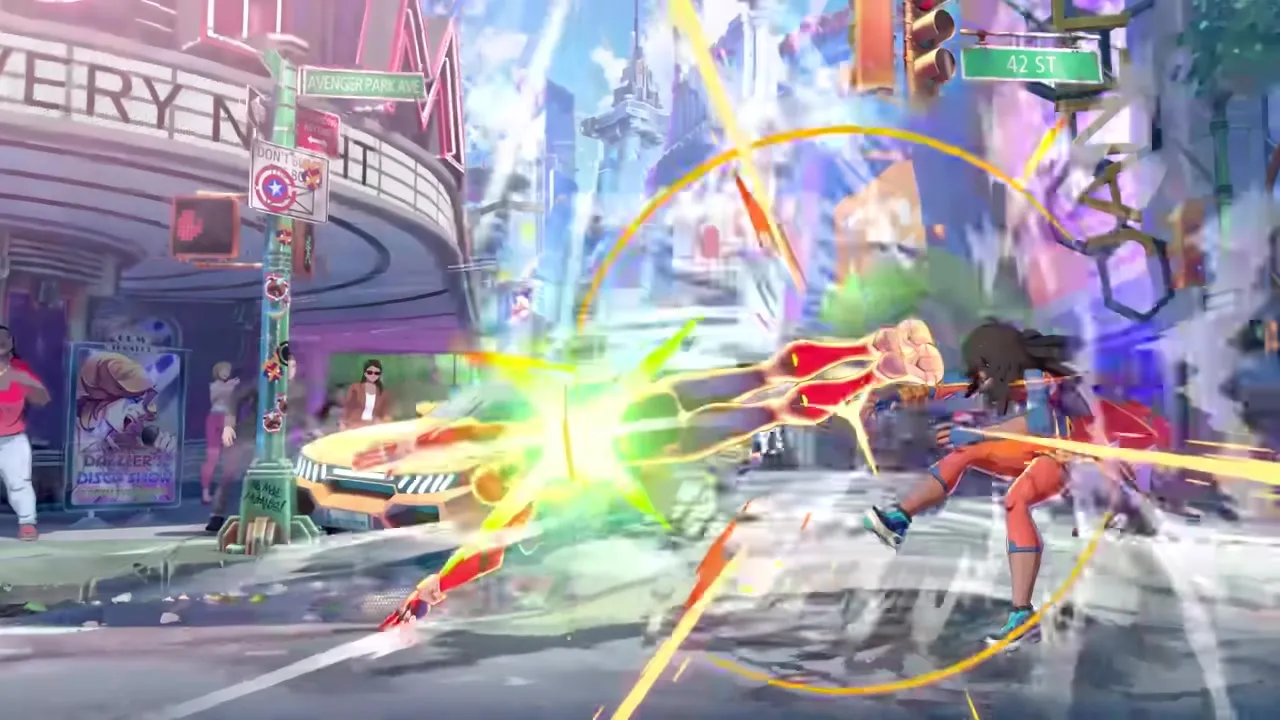
Meter is tempo — spend it to keep pressure or save it for the kill.
MARVEL Tōkon: Fighting Souls runs on three gauges, and it’s worth getting the names right up front because a lot of early fan write-ups (ours included) guessed at them before the mechanics were detailed:
- Vital Gauge — your team’s shared health bar. It’s one pool for the whole squad, and it extends as more of your team unlocks over the course of a round. See the tag system for how that works.
- Assemble Gauge — the meter behind assists, tags and crossover defense. It sits just under the Vital Gauge and regenerates over time.
- Skill Gauge — the classic “super meter.” This is the one this page is about: the resource you spend on EX moves and cinematic Ultimate Skills.
So when older guides say “Soul Gauge,” they mean the Skill Gauge. There is no separately named “Soul” meter in the official material — the super resource is the Skill Gauge, and that’s the term we use now.
Building the Skill Gauge
If Tōkon follows Arc System Works convention — and given the studio’s design DNA, it almost certainly does — the Skill Gauge fills from multiple sources:
Dealing damage. Every hit you land adds meter. Longer combos and higher-damage sequences generate more. Characters with fast multi-hit attacks like Spider-Man and Wolverine build gauge quickly through sheer volume, while heavy hitters like Ghost Rider get bigger chunks per hit.
Taking damage. Getting hit also builds meter for the defender. This is a classic fighting game safety valve — the player losing the round accumulates the resources to mount a comeback. It’s what keeps matches from feeling hopeless even when you’re behind on the Vital Gauge.
Other sources (expected). ArcSys games often award meter for forward movement, whiffing specials at close range, or performing certain system actions. Tōkon may include similar generation bonuses, though nothing specific has been shown.
The 4v4 tag system adds a layer: as more characters unlock and rotate in, meter generation accelerates. More bodies means more hits exchanged, more assists called, and more actions generating resource. Late-game Tōkon matches feature noticeably more meter spending than the cautious opening duels.
Spending meter: Ultimate Skills
The marquee use for the Skill Gauge is the Ultimate Skill — a high-damage cinematic super unique to each character. Think Iron Man firing a massive Unibeam, Storm calling down a lightning apocalypse, or Doctor Doom unleashing a full barrage. Ultimate Skills are the exclamation points of any match — they close out rounds, punish mistakes, and make highlight reels.
Crucially, the Skill Gauge works with the Assemble Gauge: you can chain Ultimate Skills across multiple teammates in sequence, similar to the Delayed Hyper Combo (DHC) mechanic in the Marvel vs. Capcom games. Unlock your full squad and you can spend a fat chunk of meter to have several characters assault the opponent back to back.
Based on genre conventions, expect multiple tiers of super:
| Super tier | Expected meter cost | Damage | Use case |
|---|---|---|---|
| EX-tier | Partial bar | Moderate | Combo enders, punishes |
| Ultimate Skill | Full bar(s) | Very high | Round closers, comebacks |
| Team chain (Assemble) | Multiple bars | Extreme | Full-team cinematic finisher |
Exact stock counts and costs aren’t finalized in pre-release materials, so treat the numbers above as informed expectations rather than confirmed frame data.
Spending meter: EX moves
Beyond Ultimate Skills, the Skill Gauge funds EX (enhanced) special moves. These are souped-up versions of a character’s normal specials — faster startup, more damage, additional properties like invincibility or wall bounce. An EX drive dash might cover more distance with armor, or an EX projectile might hit multiple times and create a combo opportunity the regular version doesn’t.
EX moves are the workhorses of meter spending. Ultimate Skills are flashy, but EX specials are what you use round after round to press small advantages — extending combos, making unsafe moves safe, creating openings that didn’t exist before.
Defense and the Assemble Gauge
Here’s where resource management gets tense — but note the split. In Tōkon, a lot of defensive escapes run off the Assemble Gauge rather than the Skill Gauge:
- Crossover counters — block, then spend Assemble meter to tag in a teammate for a counterattack that gets you out of pressure. See our defense mechanics page for the full breakdown.
- Guard cancels — meter-fueled counterattacks performed while blocking.
The tension is real across both gauges: every resource you spend on defense is one you can’t spend on a game-winning Ultimate Skill. Players who manage their meter well — saving enough to escape when they’re at risk, spending aggressively on offense when they’re in control — have a massive edge.
Meter management across a growing team
Tōkon’s tag system creates a unique meter dynamic. Early on, meter builds slowly with limited spending options. As the roster unlocks through Wall Breaks and damage, generation ramps up — but so do your choices: save for your anchor’s Ultimate Skill, spend on EX combo extensions, hold for a defensive tag, or invest in a team chain. These decisions happen under pressure, in real time, and the right answer shifts moment to moment.
Don’t hoard meter — the most common beginner mistake is sitting on a full Skill Gauge while slowly losing. A well-timed EX move beats an Ultimate Skill you never use. Check the combo basics guide for meter routes, and the beginner’s guide for a broader starting plan.