Wall Breaks & Stage Transitions
Smash into the next arena
Everything about Wall Breaks in MARVEL Tōkon: Fighting Souls — the mechanic that smashes opponents through arena boundaries, transitions stages, and unlocks new team members.
The arena is a weapon — use it.
Wall Breaks are one of MARVEL Tōkon: Fighting Souls’ most visually spectacular and strategically important mechanics. When you slam your opponent into a stage boundary with enough force, the wall shatters — and the entire fight transitions into a brand-new area. It’s not just cosmetic flair, either. Wall Breaks are a confirmed trigger for unlocking additional characters through the 4v4 tag system, making them one of the highest-value plays in any given match.
How Wall Breaks work
The core concept is straightforward: each stage in Tōkon has destructible boundaries. Push your opponent into one of these walls during a combo or with a specific wallsplat-causing move, and if the hit meets the threshold, the wall gives way. A brief cinematic plays — your opponent ragdolling through crumbling architecture while the camera whips around to show the new environment — and then both players reset in the fresh arena.
If you’ve played Guilty Gear -Strive-, this should ring a bell. Strive’s Wall Break system operates on a similar principle — corner pressure builds a crack meter, and once it pops, the wall breaks and both players reset to neutral. Tōkon appears to iterate on that foundation by tying the break to team expansion rather than just positional reset and bonus damage.
The double reward
Every Wall Break gives you two things at once:
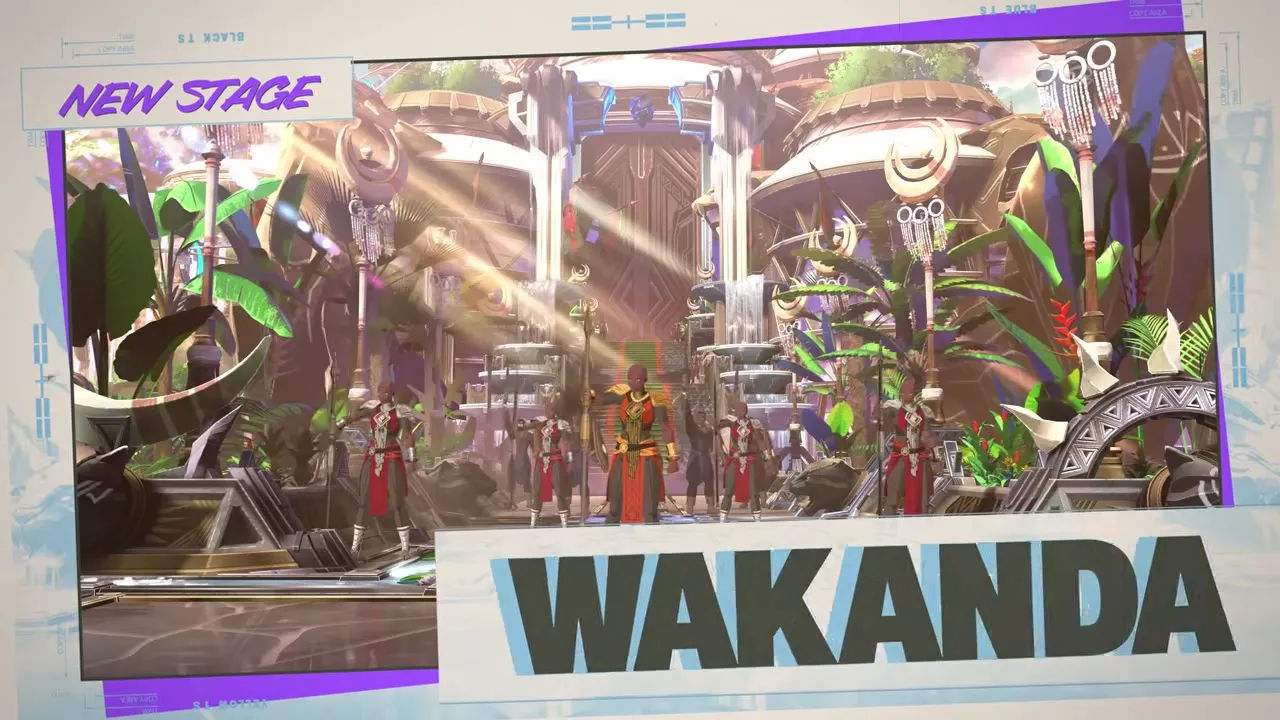
1. A new stage area. The fight physically moves. Backgrounds change, lighting shifts, and the visual storytelling of the match progresses. Stages in Tōkon reportedly feature multiple interconnected zones — picture smashing someone out of the Avengers Tower atrium into the rooftop helipad, or from a Wakandan marketplace into the vibranium mines below. These transitions keep matches visually fresh even in long sets.
2. A roster unlock. This is the big one. Achieving a Wall Break is one of the confirmed ways to expand your active team through the tag system. If you’ve been fighting with just your point character and a single assist, a successful Wall Break can bring your third fighter online. That’s not just a cosmetic upgrade — it’s a functional power spike that gives you more combo routes, more defensive options, and more resources.
Corner carry: the path to the wall
Wall Breaks don’t happen in the middle of the stage. You have to push your opponent to the boundary first, which means corner carry — the ability to move the opponent laterally across the screen during combos — becomes a premium skill.
Characters with strong forward-moving attacks naturally excel at corner carry. Captain America charging shield-first through a combo string, Wolverine chasing down with Berserker Slash sequences, Carnage using symbiote tendrils to drag opponents across the screen — these are the fighters expected to threaten Wall Breaks most consistently.
Zoners like Storm and Star-Lord have a harder time pushing opponents wallward since their gameplans involve keeping distance. But they benefit enormously from the reset that follows a break — the neutral-state restart lets them re-establish their preferred spacing.
After the break: the reset
Once the wall shatters and the transition plays, both players start in the new arena at neutral distance — roughly mid-screen from each other. This reset is significant for several reasons:
- The player who scored the break gets their team expansion reward but loses their corner pressure
- The defending player escapes the corner (a huge defensive relief) but now faces a stronger opposing team
- Both players get a momentary breather to reassess — new stage, new team compositions, new gameplan
This tension between offensive reward and positional reset is what makes Wall Breaks strategically rich. Sometimes the optimal play is to keep the opponent in the corner and squeeze out more damage rather than going for the break. Sometimes the team unlock is so important (getting your anchor character online, for instance) that you sacrifice raw damage to trigger it as fast as possible.
Interplay with other systems
Wall Breaks don’t exist in isolation. They connect to nearly every other system in Tōkon:
- Tag system — Wall Breaks are a primary unlock trigger, as covered above
- Soul Gauge — a successful break is expected to generate significant meter, fueling supers and defensive resources
- Offense — the best mixup sequences often end in corner carry that threatens a wall splat
- Defense — knowing when an opponent is fishing for a Wall Break helps you choose between blocking, bursting, or taking a reset
Tips for chasing (and avoiding) Wall Breaks
On offense: if your combo has carried the opponent to the wall, look for the visual cue — cracks, energy flashes, whatever Tōkon uses to signal the boundary is close to breaking. Some ArcSys games let you deliberately delay the break by adjusting your combo route, so you can squeeze in a few more hits before triggering the transition.
On defense: if you’re being pushed toward a wall, your priority shifts. A burst or defensive mechanic that resets to neutral might save you from granting your opponent a team expansion. The temporary cost of spending a defensive resource is often worth denying the Wall Break’s double reward.
In team building: consider your third and fourth character slots as your “Wall Break payoff.” Pick characters who hit hardest when the match has escalated — heavy damage dealers or technical fighters like Doctor Doom and Magik who need the chaos of a full team fight to truly shine.
For a deeper look at how Wall Breaks factor into overall match strategy, check our Wall Breaks explained guide and the broader tag system overview.