Wall Breaks Explained: Turning Stages Into Weapons
A complete guide to Wall Breaks in MARVEL Tōkon: Fighting Souls — how stage transitions work, why they matter for team building, and how to chase or avoid them in competitive play.
Wall Breaks are one of those mechanics that look purely cinematic the first time you see them — your opponent crashes through a stage boundary, debris flies, the camera swoops, and suddenly you’re fighting in a completely different location. Cool, right? But once you understand what Wall Breaks actually do for your team economy and match momentum in MARVEL Tōkon: Fighting Souls, they stop being spectacle and start being strategy.
Here’s the thing: every Wall Break in Tōkon is a confirmed trigger for the 4v4 tag system. Smash your opponent through a wall and you don’t just get a flashy transition — you potentially unlock your next team member. That makes corner carry and wall pressure the single highest-value offensive path in the entire game.
How Wall Breaks trigger
The setup requires two ingredients:
Corner carry. You need to push your opponent from wherever they are on screen to the stage boundary. This happens through combos that travel forward — attacks with built-in forward movement, aerial strings where you air dash toward the wall, and character-specific tools designed for lateral carry.
Threshold hit. Once the opponent is at the wall, you need to land a qualifying hit that breaks it. In Guilty Gear -Strive- — the closest reference point in ArcSys’s catalog — wall breaks trigger after accumulating a certain amount of “wall damage” via repeated hits against the boundary. Tōkon likely uses a similar system: the wall cracks visibly as you hit the cornered opponent, and a specific attack finally shatters it.
Not every combo that reaches the corner will trigger a break. Short combos might not build enough wall damage. The defender might burst before you get there. Or you might intentionally delay the break to squeeze out more corner damage before triggering the transition.
What happens during the break
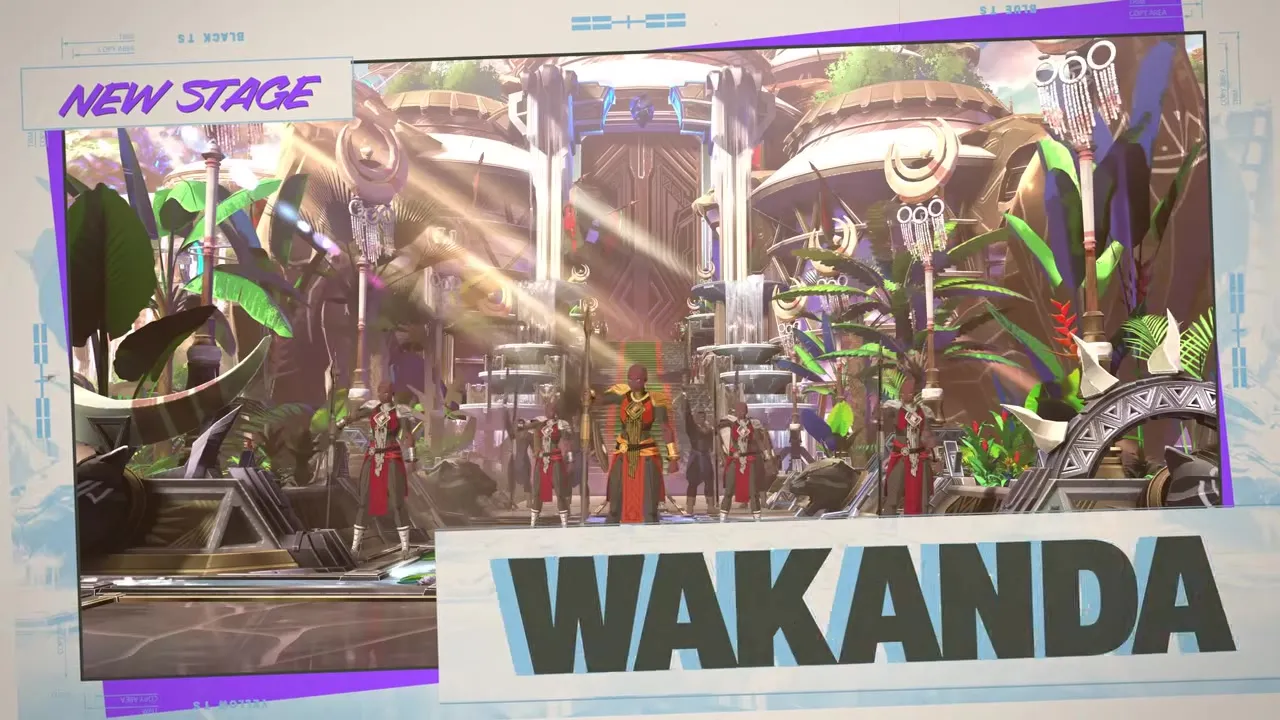
The wall shatters. A brief cinematic shows the opponent crashing through the boundary into a new section of the stage — maybe from a street-level arena into a rooftop, from a Wakandan market into underground caves, or from the Sanctum Sanctorum’s library into its mystical dimension.
Both players reset to mid-screen distance in the new arena. The breaking player’s team expands (if they haven’t already maxed out at four). And the match continues with new visual context and a shifted power dynamic.
The reset to mid-screen is important. The player who triggered the break loses their corner pressure. They had the opponent trapped against the wall, dealing damage and threatening more — and now both players are at neutral range again. That’s the tradeoff: you gain a team member and lose positional advantage.
The strategic tradeoff: break vs. keep cooking
This is the decision that separates good Tōkon players from great ones. When you have the opponent cornered and the wall is cracking, you have a choice:
Trigger the break now: you unlock your next team member and reset to neutral. Good when:
- The team member you’d unlock is crucial to your gameplan (your anchor, your best assist)
- The opponent has low health and you can likely finish them in the new arena anyway
- You need defensive resources (another assist, another tag-out option)
Delay the break: you keep the opponent in the corner and continue dealing damage. Good when:
- You’re close to killing the current opponent character without needing the break
- Your next team member isn’t important enough to justify giving up corner pressure
- The opponent is about to lose a character, and the Wall Break reset would give them breathing room
This decision changes every match based on health values, team states, meter, and burst availability. There’s no universal right answer — it’s a read based on the current game state.
Characters who excel at Wall Breaks
Corner carry ability varies dramatically across the roster. Some characters push opponents to the wall naturally; others have to work much harder for it.
Strong wall carriers (expected):
Captain America — his forward-charging specials are built for horizontal push. A Cap combo that starts mid-screen can realistically reach the wall before it ends.
Wolverine — rushdown characters with fast, multi-hit strings tend to carry well because each hit nudges the opponent a bit further. Wolverine’s aggressive style aligns perfectly with a wall-focused gameplan.
Carnage — symbiote tendrils and long-range normals give Carnage expected reach for dragging opponents corner-to-corner.
Iron Man — as an all-rounder with projectile and physical tools, Iron Man is expected to have reliable if not exceptional wall carry from any position.
Characters who struggle with wall carry:
Storm and Star-Lord — zoners who prefer mid-range and full-screen play. Their combos tend to be shorter and less laterally aggressive. They benefit from Wall Breaks but might need assist help to reach the wall consistently.
Doctor Doom — technical characters often sacrifice raw carry for setup potential. Doom might opt to keep opponents in the corner for setplay rather than breaking them out.
Wall Breaks and team composition
Because Wall Breaks unlock team members, they influence how you build your team:
If your gameplan relies on early Wall Breaks (getting your third fighter online fast), you want a point character with strong corner carry and an assist that extends combos toward the wall. Your third character should be someone who makes a big impact immediately upon joining — a character with powerful assists or strong offensive pressure.
If your gameplan is patient (winning through fundamentals and damage thresholds rather than wall-focused combos), you might treat Wall Breaks as a bonus rather than a goal. Your team order can be more flexible, and your point character can be a zoner or defensive specialist who wins neutral without necessarily pushing to the corner.
Anchor consideration: your fourth character unlocks from the second Wall Break or from accumulated damage. If that character is your most important team member — say, Magneto with screen-controlling zoning — then you need your first three characters to generate enough Wall Breaks and damage to unlock them in time.
Defending against Wall Break setups
On the receiving end, you want to avoid giving your opponent a free Wall Break. Some strategies:
Burst before the wall. If you have burst available and the opponent is carrying you toward the corner, burst mid-combo to escape before they reach the boundary. The burst sends you both back to neutral at mid-screen, denying the wall carry entirely.
Tech out of the corner. After blocking a string in the corner, use push block to create space. Backdash out if there’s a gap. Jump over the opponent with a cross-up if they overcommit to corner pressure. The goal is to not be at the wall when they land their next combo.
Trade the break. Sometimes the Wall Break actually helps you because the neutral reset gets you out of the corner. If you’re low on health and trapped, the Wall Break gives you mid-screen spacing and a chance to breathe — even though the opponent gets a team expansion. A cornered character with no options is sometimes worse off than a mid-screen character facing a bigger team.
Wall Breaks and the audience
One more angle that’s easy to overlook: Wall Breaks are designed to be hype. In competitive settings — tournament streams, local gatherings, ranked replays — the cinematic wall crash is a visual crescendo that gets people excited. Tōkon’s stages are built with multiple interconnected zones specifically so these transitions tell a story. You start fighting in one location, and by the end of the match, you’ve battled across two or three environments.
ArcSys understands that fighting games are a spectator sport as much as a competitive one. Wall Breaks serve both audiences — they’re strategically meaningful for the players and visually spectacular for everyone watching. It’s elegant design, and it’s one of the reasons the FGC is so excited about this game.
For the full mechanical breakdown, see the Wall Break system codex page. For how Wall Breaks fit into the broader tag system, read how the tag system works. And for combo routes that carry to the wall effectively, check the combo basics guide.