How Level-Up Missions in Marvel Tōkon Unlock Advanced 4v4 Tag Mechanics
Struggling with Marvel Tōkon's steep learning curve? Discover how the revolutionary Level-Up Missions teach you essential 4v4 tag and resource mechanics.
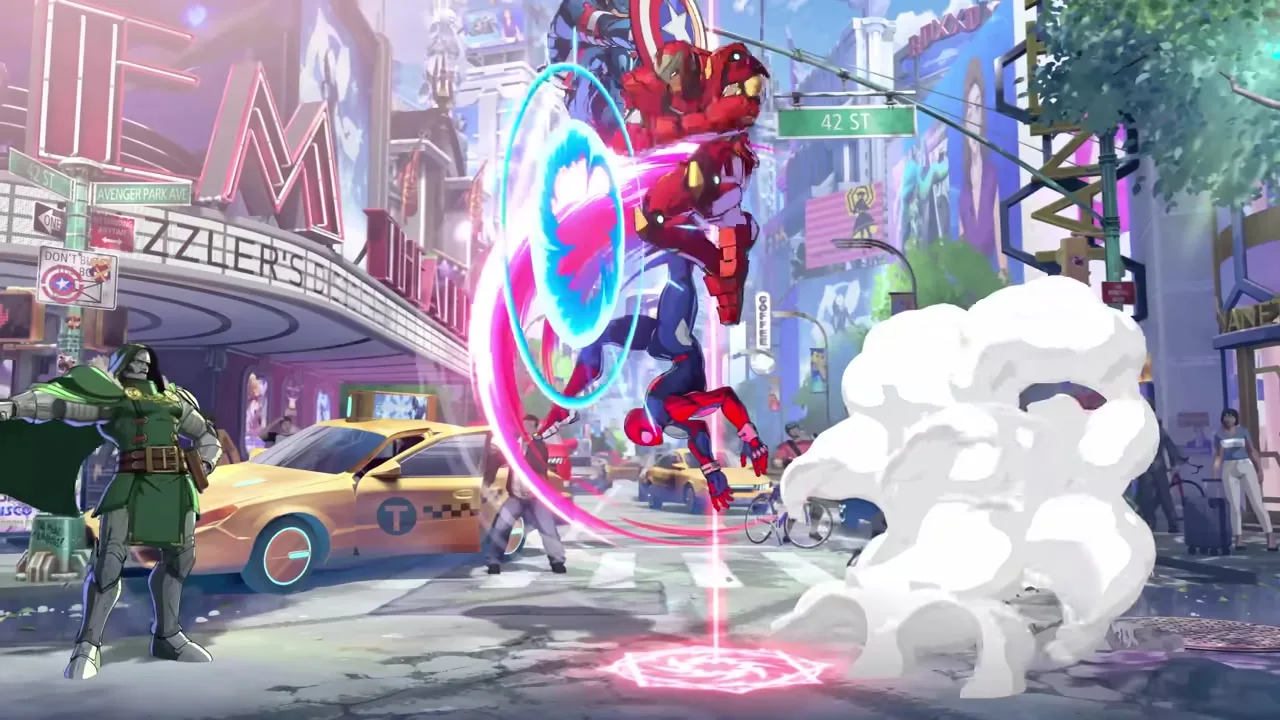
When MARVEL Tōkon: Fighting Souls officially launched on August 6, 2026, across PlayStation 5 and PC, the fighting game community immediately recognized that Arc System Works had created something wildly ambitious. With an initial Evo-locked roster of 20 characters spread across five pre-built teams, the game delivers breathtaking, high-octane 4v4 tag team battles wrapped in a gorgeous anime aesthetic. However, beneath the flashy visuals and the sprawling roster lies a beast of a learning curve that has left many newcomers completely overwhelmed.
If you are currently getting washed in ranked matchmaking while trying to manage four characters at once, you are absolutely not alone. But the developers have hidden a brilliant teaching tool right in plain sight: the Level-Up Missions. Today, we are breaking down why these unique trials are redefining fighting game tutorials and how they serve as the perfect bridge to mastering advanced community tech like Carnage’s Necrosis Loop and Iron Man’s Scrap Metal combos.
The Overwhelming 4v4 Mechanics
For players jumping into Marvel Tōkon as their first traditional fighting game, the sheer volume of mechanics on screen is intimidating. This is not a traditional 1v1 fighter, nor is it a standard 3v3 tag game where characters have individual health pools. Instead, the game operates on a uniquely brutal set of rules that forces constant engagement and resource tracking.
The biggest hurdle for most players is the Vital Gauge. In Fighting Souls, your entire team of four shares a single, unified Vital Gauge. This is a massive departure from the genre standard. If you get caught in a brutal corner sequence and take massive damage, your anchors are in immediate danger before they even hit the screen. You cannot simply sacrifice a low-health point character to reset the neutral; every drop of damage affects your entire squad.
Alongside the Vital Gauge, you have two critical offensive resources:
- The Assemble Gauge: This governs your ability to call in your teammates for assists and active switch tags. Managing the cooldown on this gauge is the difference between keeping your block pressure alive and being left completely wide open to a punish.
- The Skill Gauge: This is your traditional super meter. It allows you to execute EX moves, combo-extending roman-cancel style mechanics, and devastating Ultimates.
Juggling the Vital Gauge, the Assemble Gauge, and the Skill Gauge while tracking eight different characters on screen (four for you, four for the opponent) is a recipe for sensory overload. This is exactly where the game’s revolutionary tutorial system steps in to save the day.
Rethinking Tutorials: What Are Level-Up Missions?
In the vast majority of modern fighting games, combo trials follow a strict, rigid format. The game displays a list of inputs on the side of the screen (e.g., crouching light kick, standing medium punch, quarter-circle forward heavy punch). You grind the execution until your fingers memorize the rhythm, the “Success” banner flashes, and you move on. The problem? Players rarely understand why those moves link together, and when they drop the combo in a real match, they don’t know how to scramble and recover.
Arc System Works completely flipped the script with the Level-Up Missions in Marvel Tōkon. Instead of acting as a Simon Says memory test, these missions function as open-ended combat puzzles.
As noted by competitive players across the FGC, these “open” trials provide very few button-specific tips. Instead, the game gives you a condition to meet. A mission might demand: “Deal 4,500 damage in a single combo using one tag, ending with an EX move, without letting the opponent hit the ground.”
You are entirely free to choose how you solve that puzzle. If you start your combo with four rapid light attacks, you will quickly notice that the hitstun deterioration (combo scaling) causes the opponent to flip out before you can land your tag. You will organically realize that you need to start with a heavier, more committal normal to preserve damage scaling. If you burn your Assemble Gauge too early calling Ghost Rider or Ms. Marvel, you won’t have the resources to meet the tag requirement at the end of the string.
By stripping away the mandatory button sequences, Level-Up Missions force you to actively engage with the game’s engine. You are learning the economy of the Skill Gauge, the recharge rates of the Assemble Gauge, and the intricate physics of gravity scaling, all without reading a wall of text. Before diving into complex character specific tech, we highly recommend brushing up on your combo basics to ensure you understand standard fighting game notations, as the missions will require a baseline understanding of movement.
Transitioning from Missions to Real Matches
The beauty of the Level-Up Missions is how seamlessly the knowledge translates into the chaotic 4v4 environment. When you jump into Ranked play, the situations are never as clean as training mode. You will score stray hits in neutral, you will be forced to convert off anti-airs, and your resources will constantly be in flux.
Because the Level-Up Missions taught you how to build a combo dynamically based on your available gauges, you won’t panic when a pre-memorized string fails. If you land a random hit but your Assemble Gauge is depleted, you inherently know not to attempt an active switch combo, opting instead for a short, meter-building BnB (Bread and Butter) sequence.
Understanding how to safely navigate the tag system is arguably the most important defensive and offensive skill in the game. Because of the shared Vital Gauge, safely cycling your characters to manipulate screen positioning and throwing off the opponent’s rhythm is mandatory. You cannot just throw out an assist wildly; understanding the assists cooldowns is critical to surviving the onslaught.
Graduating to Advanced Tech: Carnage’s Necrosis Loop
Once the Level-Up Missions have rewired your brain to understand the core engine, you are ready to tackle the advanced setups currently taking the community by storm. A perfect example of this is the terrifying pressure game being developed around the Knights of Doom faction member, Carnage.
Early tier lists and community lab monsters have identified Carnage as an absolute menace on wakeup, largely due to a sequence affectionately dubbed the “Necrosis Loop.” According to community reports and gameplay breakdowns, this loop heavily relies on his unique “Parasite Bomb” projectile.
The setup works like this: Carnage scores a hard knockdown in the corner. As the opponent is waking up, he deploys the Parasite Bomb directly on top of them. This creates an incredibly oppressive “meaty” situation. If the opponent respects the bomb and blocks, Carnage maintains massive frame advantage (he is highly plus on block). From there, he can initiate a brutal high/low/throw mixup game. If the opponent guesses wrong, they eat a full combo that leads right back into another hard knockdown and another Parasite Bomb setup—the Necrosis Loop.
If the opponent panics and tries to mash a light attack or jump out of the corner, the Parasite Bomb detonates, catching their startup frames and launching them for a full conversion. Understanding how to execute this loop requires precise management of the Assemble Gauge, as you often need an assist call to cover the slightly sluggish startup animation of the Parasite Bomb. If you want to main the symbiote serial killer and learn the exact frame kills for this setup, check out our dedicated hub for Carnage.
Mastering the Iron Man Scrap Metal Loops
Not every advanced technique requires mind-bending execution. While Carnage focuses on suffocating corner pressure, Iron Man players have discovered simple, highly consistent sequences known as “Scrap Metal Loops.”
Despite wearing his hulking Champion Buster armor (his canonical suit for the Episode Mode campaign against the Champion of the Universe), Tony Stark is shockingly nimble in the air. The Scrap Metal Loop, heavily circulated in recent combo videos, capitalizes on his aerial mobility.
The loop reportedly involves launching the opponent, catching them with his multi-hitting repulsor blasts, and utilizing a precise airdash cancel to reset his aerial momentum before gravity pulls the opponent down. The beauty of the Scrap Metal sequence is that it is remarkably easy to perform once you understand the rhythm of jump cancels—a concept heavily reinforced in the mid-tier Level-Up Missions. It provides phenomenal corner carry and builds substantial Skill Gauge, allowing you to easily tag into a character like Captain America for a devastating team super ender.
The Road Ahead
MARVEL Tōkon: Fighting Souls is undoubtedly a challenging game, demanding high spatial awareness and rapid resource management. However, Arc System Works has provided all the tools you need to succeed. By spending time with the open-ended Level-Up Missions rather than stubbornly grinding ranked matches from day one, you will naturally absorb the intricacies of the shared Vital Gauge and the 4v4 assist economy.
Before you try to save the universe from the Champion of the Universe in Episode Mode, hit the missions, solve the combat puzzles, and watch your neutral game transform.